Turning My DIY Dream into Reality
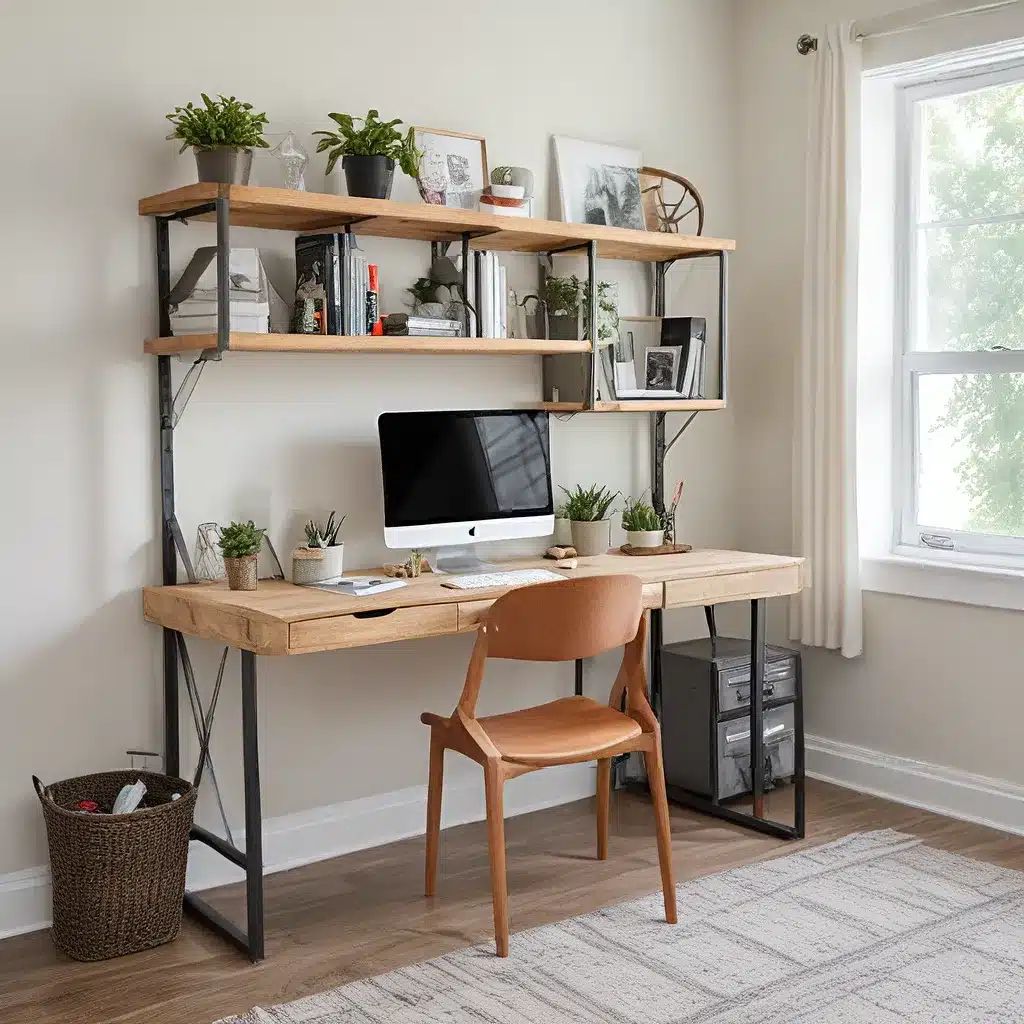
Buckle up, because we’re about to take a trip back in time – all the way to late 2019. That’s when I shared my 30-dollar DIY wood desktop for our home office. It was an awesome solution for us at the time, especially because it cost a fraction of what a custom wood top would have run. This 10-foot-long desktop came together with just three 1x8x10 pine boards, some wood glue, and a bit of stain. Once it was set atop three simple sets of drawers, it totally transformed the room and gave both me and my partner a place to work.
But here’s the thing – it’s been over four years since then, and our storage needs have grown considerably as our family has expanded. Two adults who work at home full-time, two cats, and two rambunctious kids typically occupy this office. I knew I had a plan for so much more: fully custom built-ins with room for a hidden printer, all the things that come along with running a design business and my other creative content work, and my partner’s gaming setup, which called for an ergonomic workspace and some serious cable management.
As proud as I was of my DIY desktop, we needed better office storage solutions, so a home office built-ins remodel was in order. I had a space about 14 feet wide and 10 feet tall to plan for, and after some careful consideration of our specific needs, here’s what I drew up.
Designing the Ultimate Home Office Built-Ins
This custom home office built-in unit includes closed, hidden storage and some open shelving up top for books and vertical cubbies – perfect for a stylish display moment. (My favorite part!) You can’t see it in the drawings, but the idea was to have a full-depth desktop while the cabinetry would be narrower, so it didn’t come all the way to the edge. I didn’t want to feel like I was in a cubicle, constantly looking around the walls of my workspace to see my officemate husband. This is a crucial consideration if you’re planning a two-desk office layout. I kept the desktop 26 inches deep and the built-ins above it at 12 inches deep.
Underneath, similar to what we had going before with the three sets of drawers, I designed three custom-sized units. The two on the ends would need to be 24 inches wide, and the cupboards directly above them would also be that width. The center portion would be 18 inches, as I wanted to keep that part visually lighter.
As I mentioned in my previous post, I love a good hidden “hat trick” moment. And while I’m not hiding a Peloton in here (you know what I mean), I did cook up a spot to sneak in a printer without it being all bulky, ugly, and obvious. Home office designs often need certain things that I consider the eyesores of the space, but a good concealer usually does the trick. Here, I came up with a design for a hidden printer station.
From the front, it looks just like the other drawers in the built-in, but in reality, the bottom two drawers would act as one when you pull it out. There’s a paper drawer on top and then a compartment for the printer to slide into and access when needed. All my carpenters had to do was create a faux Shaker-style front panel, and voila – no more eyesore printer!
Bringing the Vision to Life
The whole his-and-hers office makeover project took a few weeks to complete, from start to finish. The home office built-ins cost me $8,500, including the crown molding and a beautiful red oak desktop. But oh, was it worth it.
The height and width of the built-in workspace really makes this room feel so much bigger than before, but beyond that, it just works better for us. The petite sconces offer more task lighting than the lone floor lamp we had before, the chandelier has milk glass globes that diffuse light so nicely, and the lighter green paint color throughout feels grounded yet happy.
Reading General Contractor did an incredible job bringing my vision to life, and I couldn’t be more thrilled with the final result. The only thing that remains to figure out is the chairs. Finding the right office chairs was a huge struggle because my partner wanted ergonomic chairs, but let’s be honest – they’re rarely good-looking. He has specific gaming needs for his chair, and I just want things to look good. These two roads rarely meet, sadly.
We found a faux leather chair on Amazon that I loved, but we eventually had to return them because they didn’t have a neck rest. We’re still using the old chairs we had before, which I don’t love the look of, but they’ll have to do until we find the perfect solution. The hunt is on!
Elevating Your Home Office: DIY Desk and Storage Solutions
If you’re anything like me, you’re constantly on the lookout for ways to optimize your home office setup. Whether you’re a remote worker, a budding entrepreneur, or a creative professional, having a well-designed and organized workspace can make all the difference in your productivity and overall well-being.
As I’ve learned through my own home office journey, the key to an elevated workspace lies in a combination of practical storage solutions and personalized style. And the best part? You don’t have to break the bank to achieve it.
One of the easiest and most affordable ways to transform your home office is with a DIY desk. Whether you opt for a simple wood-topped setup like I did or get a little more creative with a custom-built unit, the possibilities are endless. The trick is to find the right balance between function and aesthetics – something that not only meets your practical needs but also reflects your unique style.
But the desk is just the beginning. To truly elevate your home office, you’ll also need to tackle the storage and organization challenges that come with a dual-purpose workspace. That’s where custom built-ins can be a game-changer. By incorporating a mix of closed and open storage, you can keep the clutter at bay while also showcasing your personal touches.
And don’t forget about those hidden gems, like a discreet printer station – the kind of design hack that turns an eyesore into a seamless part of your office’s overall aesthetic.
The key is to approach your home office renovation with both practicality and creativity in mind. It may take a bit more time and effort upfront, but trust me, the payoff is well worth it. Not only will you end up with a workspace that’s tailored to your unique needs, but you’ll also have the satisfaction of knowing you created it with your own two hands.
So, what are you waiting for? It’s time to start planning your ultimate home office transformation. Who knows – you might just stumble upon a few unexpected DIY delights along the way. Let’s get started!
Related posts:
No related posts.


