At some point in our lives, we have all encountered mould in our homes. It is a common problem that can have serious health implications if left unaddressed. Mould can cause respiratory problems, allergies, and even neurological issues. However, testing your home for mould can be a daunting task, especially if you do not know where to start. In this article, we will provide you with a step-by-step guide on how to test your home for mould.

Why Test for Mould?
Before we delve into the process of testing your home for mould, it is important to understand why it is necessary. Mould is a type of fungus that thrives in moist environments and can grow on any surface. It can cause health problems, especially for people with a weakened immune system. Testing for mould can help you identify the type of mould present in your home and take appropriate measures to get rid of it.
Step 1: Visual Inspection
The first step in testing your home for mould is to conduct a visual inspection. This involves identifying areas where mould is likely to grow, such as damp areas, leaky roofs, or poorly ventilated bathrooms. Look for signs of mould growth, such as black or green spots on walls, floors, or ceilings. Pay attention to musty odours or any other signs of water damage.
Step 2: Purchase a Mould Testing Kit
Once you have conducted a visual inspection, the next step is to purchase a mould testing kit. Mould testing kits are readily available at most hardware stores and online. These kits typically include a petri dish, a swab, and a growth medium. Some kits may also include a microscope or a lab analysis to identify the type of mould present.
Step 3: Collect Samples
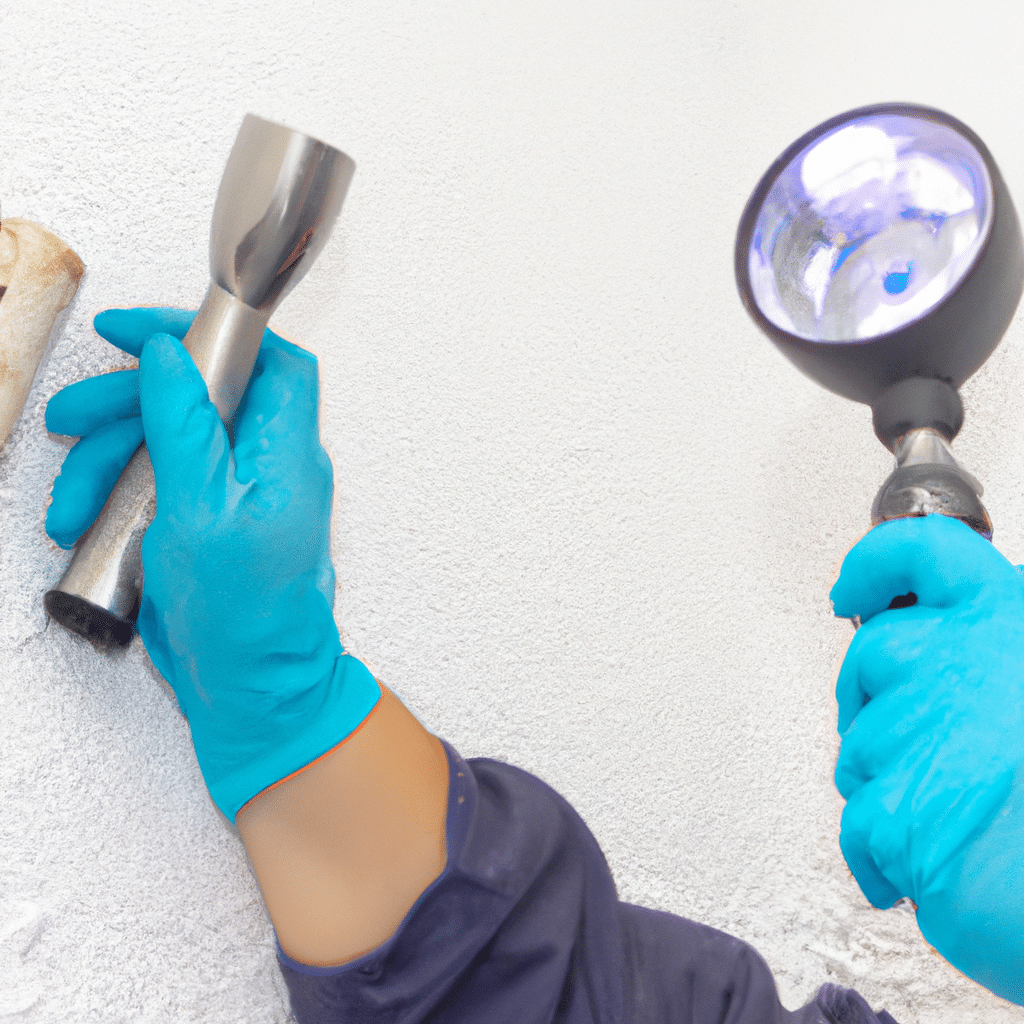
The next step is to collect samples from the areas where you suspect mould growth. Use the swab provided in the kit to collect a sample of the mould. If you cannot see any visible mould, swab the area where you suspect it may be present. Rub the swab gently on the surface and then transfer it to the petri dish provided in the kit. Follow the instructions provided in the kit for collecting and transferring the sample.
Step 4: Wait for Results
After you have collected the samples, it is time to wait for the results. The growth medium in the petri dish will allow the mould to grow, which will help you identify the type of mould present. The time required for mould to grow can vary depending on the type of mould and the conditions in your home. Most testing kits will provide you with a timeline for the results.
Step 5: Analyze the Results
Once the mould has grown in the petri dish, it is time to analyze the results. Some testing kits will come with a microscope or a lab analysis to help you identify the type of mould present. If you do not have access to these tools, you can compare the results with the colour chart provided in the kit. This will help you identify the type of mould and determine the appropriate measures to take to get rid of it.
Step 6: Take Appropriate Measures
Once you have identified the type of mould present in your home, it is important to take appropriate measures to get rid of it. Depending on the severity of the mould growth, you may need to hire a professional mould removal service. In some cases, you may be able to remove the mould yourself using household cleaning products. Keep in mind that different types of mould may require different removal methods, so be sure to research the appropriate measures for the type of mould present in your home.
Conclusion
Testing your home for mould is an important step in maintaining a healthy living environment. By following the steps outlined in this article, you can identify the type of mould present in your home and take appropriate measures to get rid of it. Remember to conduct a visual inspection, purchase a mould testing kit, collect samples, wait for results, analyze the results, and take appropriate measures. With these steps, you can ensure the safety and well-being of yourself and your family.
Related posts:
No related posts.


