Transforming Your Walls from Bland to Brilliant
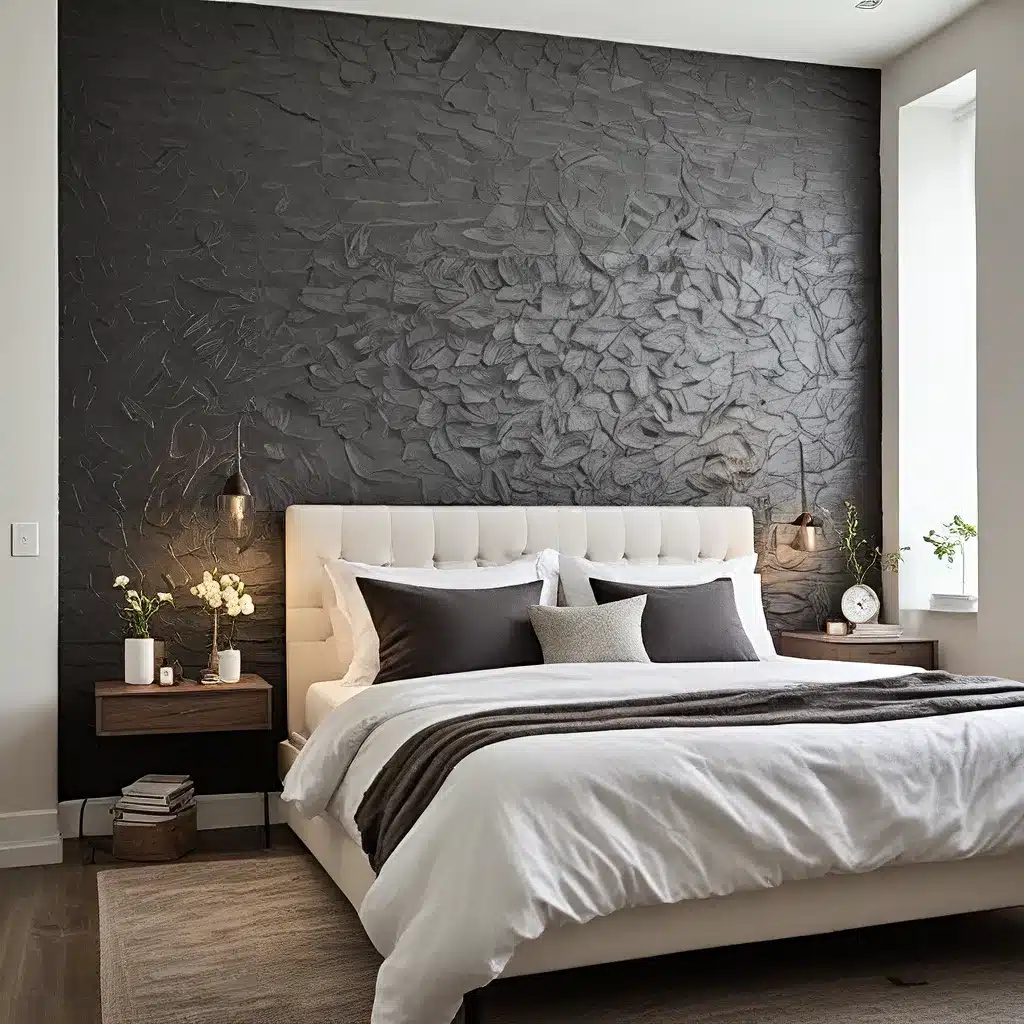
Is your living space feeling a little… lackluster? Are those plain, flat walls staring back at you, begging for a makeover? Well, my friend, I’ve got just the solution – DIY textured accent walls! Get ready to wave goodbye to boring and hello to bold, because we’re about to embark on a wall-revitalizing adventure.
I know what you’re thinking – “But I’m no construction expert! How on earth am I supposed to create a professional-looking textured wall?” Fear not, my DIY-inclined friends, for I’ve got your back. With a little elbow grease, some strategic planning, and a touch of creative flair, you can transform those ho-hum walls into show-stopping masterpieces.
Reading General Contractor has seen it all when it comes to wall makeovers, and we’re here to share our top tips and tricks to help you nail that perfect textured accent wall. So, grab your toolbox, put on your thinking cap, and let’s get to work!
Explore the Endless Possibilities
The beauty of textured accent walls lies in their endless versatility. Whether you’re dreaming of a rustic shiplap look, a sleek and modern paneled design, or a dynamic herringbone pattern, the options are truly limitless. And the best part? You get to be the architect of your own wall-transformation masterpiece.
Take, for example, the stunning accent wall featured on A House We Built. The homeowners opted for a captivating geometric pattern, complete with clean lines and a soothing color palette. The result? A truly eye-catching focal point that instantly elevates the entire room.
Or, if you’re feeling a bit more adventurous, check out the dramatic slat wall featured on Revive & Design. By skillfully arranging narrow wood slats in a staggered pattern, the designers created a stunning, dimensional accent wall that adds depth and character to the space.
The possibilities are endless, my friends. Whether you’re drawn to rustic charm or modern minimalism, there’s a textured accent wall out there just waiting to be the centerpiece of your dream room.
Mastering the Art of Textured Walls
Now, I know what you’re thinking – “Alright, this all sounds great, but how do I actually pull it off?” Well, my DIY-loving pals, let me walk you through the step-by-step process of creating a show-stopping textured accent wall.
Step 1: Plan, Plan, Plan
The key to any successful DIY project is thorough preparation. Start by measuring your wall and sketching out your desired design. Will it be a simple grid pattern, a herringbone masterpiece, or something entirely unique? Visualize it, draw it, and then bring that vision to life.
Step 2: Gather Your Supplies
Depending on your chosen design, you’ll need a variety of materials. Think wood planks, construction adhesive, a miter saw, a nail gun, and of course, your trusty power drill. Don’t forget to pick up a few extra tools, like a level and a stud finder, to ensure a seamless installation.
Step 3: Prep Your Wall
Before you can start nailing or gluing anything to your wall, you’ll need to make sure it’s ready for the transformation. Give it a good cleaning, patch any holes or cracks, and sand the surface until it’s nice and smooth. Trust me, taking the time to properly prep your wall will pay off in the long run.
Step 4: Bring Your Vision to Life
Now for the fun part! Start by marking your wall with the measurements and layout of your design. Then, carefully cut your wood planks to size using your miter saw. Arrange them on the wall, making sure they’re level and evenly spaced. Once you’re happy with the placement, it’s time to secure them in place.
Step 5: Finishing Touches
The last step is to make your textured accent wall look as polished as possible. Fill any gaps or nail holes with wood filler, sand the surface until it’s silky smooth, and then apply your chosen paint or stain. Don’t be afraid to experiment with different finishes – a high-gloss sheen can create a sleek and modern look, while a matte finish will give a more rustic feel.
And there you have it, folks! With a bit of elbow grease and a whole lot of creativity, you can transform those bland walls into showstopping masterpieces. So, what are you waiting for? It’s time to get your DIY on and revitalize your space with a stunning textured accent wall.
Overcoming Textured Wall Challenges
Of course, no DIY project is without its fair share of challenges, and textured accent walls are no exception. But fear not, my friends, because we’ve got your back.
Tackling Uneven Surfaces
If your walls have a bit of texture or unevenness, don’t let that stop you. You can smooth out the surface by lightly sanding or using a skim coat of joint compound. Just make sure to let it dry completely before moving on to the next step.
Dealing with Tricky Baseboards
Not all baseboards are created equal, and if yours have a bit of character (read: ridges or curves), it can complicate the installation process. But no need to panic! You can either rip out the existing baseboards and replace them with a flat option, or simply use a thin board to create a smooth surface for your accent wall.
Securing the Structure
When it comes to textured accent walls, proper wall preparation is key. While you can use construction adhesive and nails to attach the wood planks, it’s always best to find the studs and secure your boards directly into them. This will ensure a sturdy, long-lasting installation.
Embracing Unique Textures
If you’ve got a wall with some serious texture, like heavily textured drywall, don’t be discouraged. You can actually use this to your advantage! Consider incorporating the existing texture into your design for a truly one-of-a-kind look. A little caulk and creativity can go a long way.
Remember, my fellow DIY enthusiasts, no wall is too challenging to transform. With a little problem-solving and a lot of determination, you can conquer any textured surface and create the accent wall of your dreams.
Bringing it All Together
So, there you have it – your ultimate guide to revitalizing your walls with stunning DIY textured accent walls. Whether you’re drawn to rustic charm or modern minimalism, the possibilities are truly endless.
As you embark on your wall-transforming journey, remember to have fun with the process. Embrace the challenges, get creative with your design, and don’t be afraid to experiment. After all, the best part of any DIY project is the sense of pride you’ll feel when you step back and admire your handiwork.
So, what are you waiting for? Grab your toolkit, unleash your inner designer, and get ready to turn those boring walls into the centerpiece of your dream space. Happy DIYing, my friends!
Related posts:
No related posts.


